BARBER PROFESSIONAL GUIDE
Tools Of A Barber Revealed
Embark on your journey to becoming a barber from the comfort of your home.
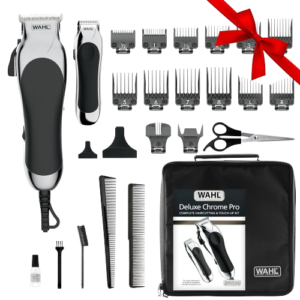
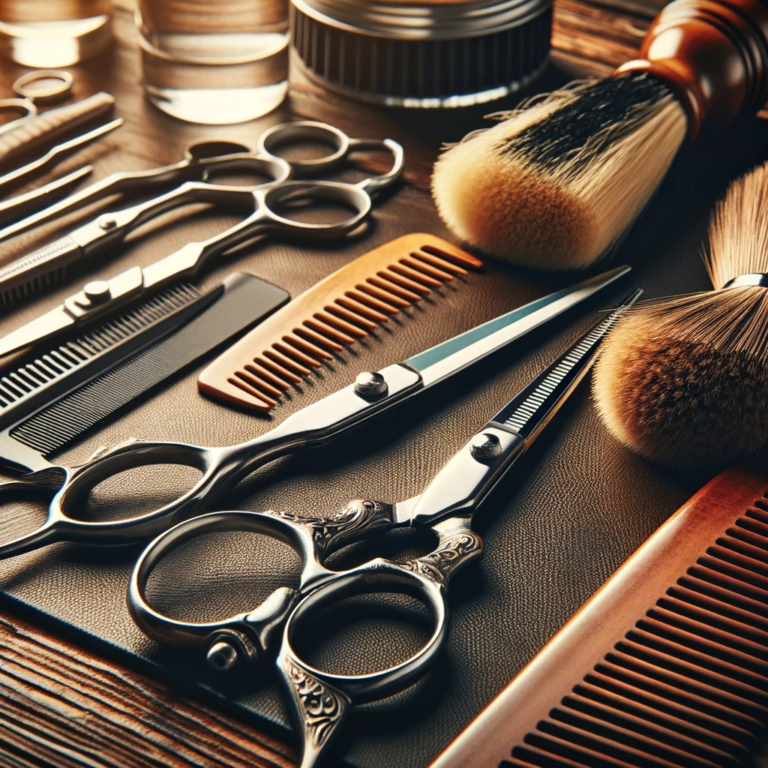
Our comprehensive guide covers everything from setting up your workspace with optimal barber light and mirrors to selecting the right tools of a barber, including barber clippers, barber trimmers, and foil shaver.
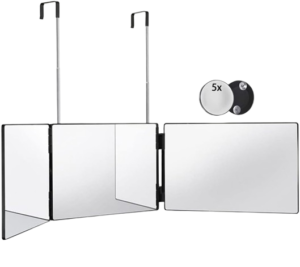
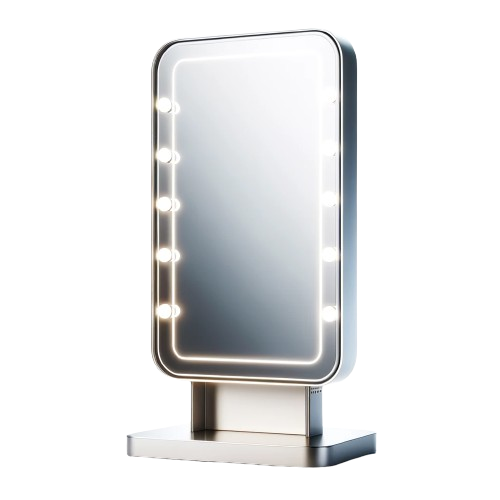
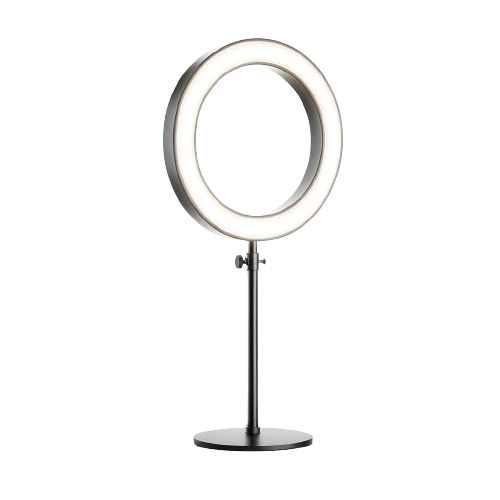
 Setting Up the Right Environment: Ensure you have proper lighting and a clear mirror to accurately see your work.
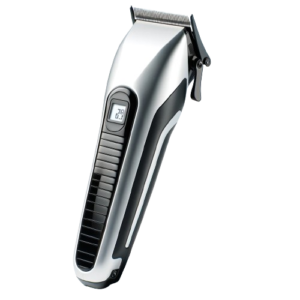
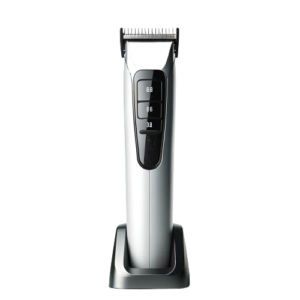
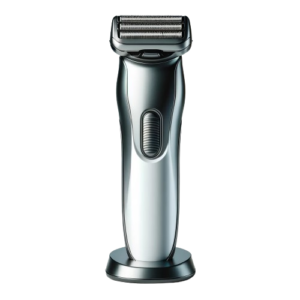
 Essential Tools for Fading: Begin with a
'Clippers' for the initial cut, use a
'Trimmers' for detailed work, and finish with a
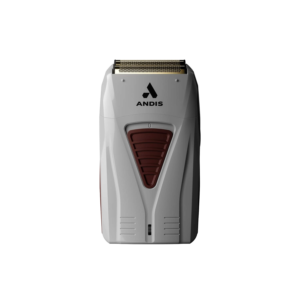
'Foil Shaver' for a neat, clean shave.
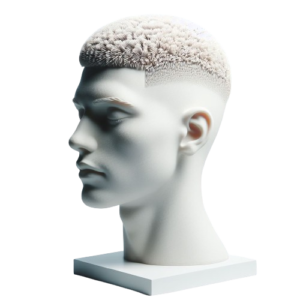
Learning to fade is a skill that offers long-term benefits, enhancing your grooming expertise.
Experience the fulfillment of creating your own fade, stepping into the role of your personal stylist.
Mastering the Basics of Barber Fading
These insights are beneficial for ‘DIY haircutting’ enthusiasts and professional hair cutting experts alike, providing techniques to elevate your barber fading skills.

Always cut in the direction the hair grows. This ensures a more natural fade and prevents uneven patches.

Use a gentle touch with the clipper for smoother transitions, crucial in barber fading.

Keep the clipper blade flat against the head for uniform cuts. Tilting the clipper can create uneven lengths.

Regularly brush away cut hair during the fade process. This allows for a clearer view of your progress, a tip especially useful in home barber settings.
DIY Haircutting
Guide to Barber Fading
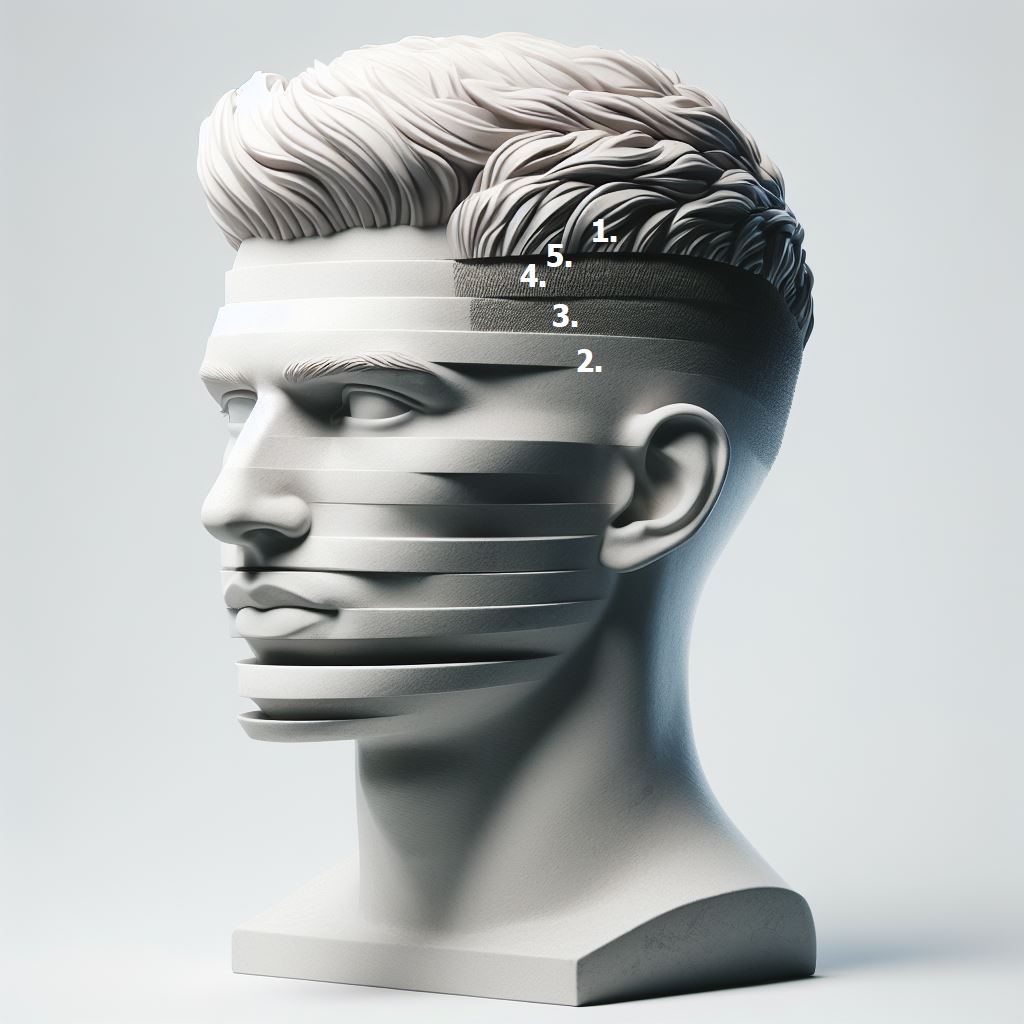
STEP 1: Reducing Bulk
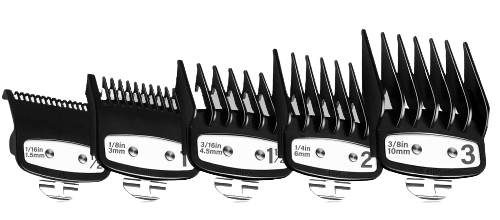
Initially, start with a (3 Guard) on your hair clipper. Begin with the lever fully open, then gradually, for even bulk reduction, move to a closed position.
STEP 2: Baseline and Clean Shave
Next, create a clean baseline around your head, using trimmers for precision. Subsequently, finish with a foil shaver for a sleek, clean look.
STEP 3: Creating the Fade
Now, with no guard and the lever open, create a new line. Then, gradually decrease the lever length for a smooth transition.
STEP 4: Refining the Fade
Furthermore, repeat the process with a (1 Guard), creating another line and blending seamlessly.
STEP 5. Final Blending:
Lastly, use a (1.5 Guard) to blend the top part of the fade.

Enhancing Precision and Detail in Fading
Explore detailed tips and tricks that elevate your precision and attention to detail.

Barber barber professionals know that the smallest details make the biggest difference. Paying attention to every stroke ensures a superior fade.

When tackling a hair cut fade style, layering can add depth and dimension. This technique is useful for both professional hair cutting and ‘DIY haircutting’ enthusiasts.

Incorporate a magnification mirror in your ‘DIY haircutting’ routine to enhance precision. This tool is particularly beneficial in home barber setups.

Ensure clear, bright lighting in your home barbershop or professional setting.
